 鸿蒙HarmonyOS应用开发:多码识别"/>
鸿蒙HarmonyOS应用开发:多码识别
华为HMS Core的扫码接口更适用于简单的个人使用。在商业环境,如货架、医用试管、图书馆书架等,常常遇到复杂的多码扫描需求,这时需要专业的扫码SDK。尽管当前市场上的主流商业SDK尚未支持鸿蒙HarmonyOS,但我们仍可以通过HTTP请求来调用扫码服务,满足在鸿蒙系统上的多码扫描需求。
准备工作
-
申请一个Dynamsoft Barcode Reader免费试用序列号。
-
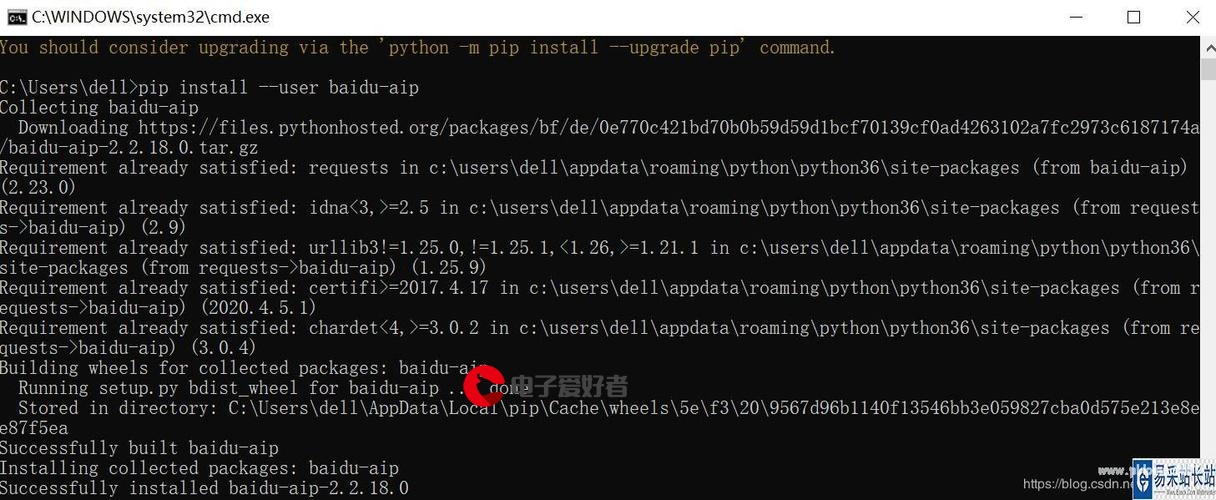
安装Node.js依赖包。
npm install barcode4nodejs express body-parser
使用Node.js搭建扫码服务
启动一个Express服务,监听3000端口,代码如下:
const express = require('express');
const path = require('path');
const fs = require('fs');
const app = express();
const http = require('http');
const server = http.createServer(app);
const bodyParser = require('body-parser');app.use(express.static('public'));
app.use('/node_modules', express.static(__dirname + '/node_modules'));
app.use(bodyParser.json({ limit: '50mb' }));
app.use(bodyParser.urlencoded({ limit: '50mb', extended: true }));const port = process.env.PORT || 3000;server.listen(port, '0.0.0.0', () => {host = server.address().address;console.log(`Server running at :${port}/`);
});
通过HTTP POST请求接收图片文件流:
app.post('/readbarcode', async (req, res) => {const data = req.body;let chunks = [];req.on('data', (chunk) => {chunks.push(chunk);});req.on('end', () => {let nodeBuffer = Buffer.concat(chunks);});
});
使用barcode4nodejs来实现服务端的扫码功能:
const dbr = require("barcode4nodejs")
dbr.initLicense("LICENSE-KEY")
dbr.decodeFileStreamAsync(nodeBuffer, nodeBuffer.length, dbr.formats.QRCode).then((results) => {let output = '';let index = 0;for (result of results) {output += index + ': ' + result['value'] + ' ';index += 1;}res.status(200).send(output);});
鸿蒙应用开发步骤
在entry/src/main/module.json5文件中配置网络权限ohos.permission.INTERNET:
{"module": {"name": "entry",..."abilities": [...],"requestPermissions": [{"name": "ohos.permission.INTERNET"}]}
}
在工程的rawfile目录中放入一张示例图片。
程序启动的时候,我们把图片加载到内存中,用于显示以及后续的扫码请求。在entry/src/main/ets/pages/Index.ets中添加如下代码:
import http from '@ohos.http';
import image from '@ohos.multimedia.image';const context = getContext(this);
const resourceMgr = context.resourceManager;@Entry
@Component
struct Index {@State displayImage: any = undefined @State result: string = 'N/A'imageData: ArrayBuffer = undefinedhost: string = 'http://192.168.8.72:3000'text: string = '.jpg'onPageShow() {(async () => {const fileData = await resourceMgr.getRawFileContent('qrcode.jpg');this.imageData = fileData.buffer;const imageSource = image.createImageSource(this.imageData);imageSource.createPixelMap().then(pixelmap => {this.displayImage = pixelmap;});})();}build() {Scroll(this.scroller) {Column() {...Image(this.displayImage).width('100%').objectFit(ImageFit.Contain).margin({bottom: 5})Text(this.result).fontSize(16).textAlign(TextAlign.Start).fontWeight(FontWeight.Bold).backgroundColor(0xd2cab3)}.justifyContent(FlexAlign.Start).width('100%').height('100%').padding({left: 5, top: 5, right: 5, bottom: 5})}}
}
这里的host就是刚才启动的服务器地址。imageData是图片的二进制数据,displayImage是用于显示的PixelMap对象。result是扫码结果。
添加一个按钮来触发HTTP POST扫码请求:
Button('Read Multi QR Codes').backgroundColor('#007DFF').margin(15).onClick(() => {if (!this.imageData) return;let url = this.host + '/readbarcode'let httpRequest = http.createHttp();httpRequest.on('headersReceive', (header) => {console.info('header: ' + JSON.stringify(header));})httpRequest.request(url,{method: http.RequestMethod.POST,header: {'Content-Type': 'application/octet-stream'},extraData: this.imageData,}, (err, data) => {if (!err) {try {this.result = data.result.toString()} catch (error) {console.error("Error parsing JSON:", error);}} else {console.info('error:' + JSON.stringify(err));httpRequest.off('headersReceive');httpRequest.destroy();}});})
Content-Type设置成application/octet-stream,extraData设置成图片的二进制数据。
为了方便在模拟器里测试不同的图片,我们再创建一个输入框用来输入图片URL,然后通过HTTP GET请求来获取图片数据:
TextArea({placeholder: '.jpg',
}).placeholderFont({ size: 16, weight: 400 }).width(336).height(56).margin(20).fontSize(16).fontColor('#182431').backgroundColor('#FFFFFF').onChange((value: string) => {this.text = value})Button('Get an image').backgroundColor('#007DFF').margin(15).onClick(() => {let httpRequest = http.createHttp();httpRequest.on('headersReceive', (header) => {console.info('header: ' + JSON.stringify(header));})httpRequest.request(this.text,{method: http.RequestMethod.GET,}, (err, data) => {if (!err) {if (data.result instanceof ArrayBuffer) {this.imageData = data.result as ArrayBufferconst imageSource = image.createImageSource(this.imageData);imageSource.createPixelMap().then(pixelmap => {this.displayImage = pixelmap;});}} else {console.info('error:' + JSON.stringify(err));httpRequest.off('headersReceive');httpRequest.destroy();}});})
最后我们测试一张包含多个二维码的图片:
源代码
更多推荐
鸿蒙HarmonyOS应用开发:多码识别


发布评论